


Why Is My Water Heater Leaking From Bottom?
A puddle beneath a water heater is never something to ignore, but it does not automatically mean the entire unit has failed. If you are asking, “why is my water heater leaking from bottom,” the first job is to find where the water actually starts. Water can travel down the tank jacket or nearby piping and collect at the base, making one problem look like another.
A loose fitting may be a straightforward repair. A leak from the tank itself is usually a replacement situation. Knowing the difference can help you protect your home, avoid unsafe DIY fixes, and make a clear decision quickly.
Why Is My Water Heater Leaking From the Bottom?
The bottom of the heater is where every drip ends up. That means the water may be coming from a connection at the top, the temperature-and-pressure relief valve on the side, the drain valve near the base, or the tank itself. Before assuming the worst, dry the outside of the unit and floor with towels, then watch closely for fresh moisture.
Do not remove panels, disassemble gas connections, or try to patch a corroded tank. If water is actively flowing, shut off the cold-water supply valve above the heater if you can do so safely. For an electric water heater, turn off power at the breaker before getting near wet electrical components. For a gas unit, avoid touching the gas control or gas piping if you smell gas. Leave the area and seek immediate professional help if there is a gas odor.
A leaking drain valve
Most conventional tank water heaters have a drain valve near the bottom. It is used for flushing sediment and emptying the tank during service. The valve can seep around its handle, drip from its outlet, or leak where it threads into the tank.
Sometimes a drain valve will stop after it is gently closed fully. Other times, the internal seal is worn or sediment is preventing it from closing. Replacing a drain valve can be a reasonable repair when the tank is still in good condition, but it requires draining the unit and checking for other issues at the same time.
A temperature-and-pressure relief valve discharge
The temperature-and-pressure relief valve, commonly called the T&P valve, is a critical safety device. It is usually mounted high on the side or top of the tank, with a discharge pipe running downward. If it opens, water can run through that pipe and appear at the bottom of the heater.
A dripping T&P valve may be caused by a faulty valve, excessive water pressure, thermal expansion in a closed plumbing system, or overheating. Replacing the valve without checking pressure can only treat the symptom. A qualified technician should determine whether the home needs pressure correction, an expansion tank, or a control adjustment.
Never cap, plug, or block the T&P valve discharge pipe. That turns a safety concern into a serious hazard.
Condensation around the tank
A small amount of moisture is not always a plumbing leak. In a cool basement, a gas water heater can produce condensation when cold water enters the tank, especially during heavy hot-water use. High humidity can also create moisture on cold pipes and the tank surface.
Condensation should be occasional and light. If the floor is repeatedly wet, the water is warm, or moisture continues when the heater has not been running, treat it as a leak until proven otherwise. A professional can tell the difference between normal condensation and water escaping from a component.
Loose or leaking plumbing connections
Cold-water and hot-water connections sit on top of a tank, but leaks there often run down the side and pool underneath. Nearby shutoff valves, flex connectors, recirculation lines, and expansion-tank fittings can do the same.
Look for water trails, mineral buildup, greenish corrosion on copper, or rust at threaded fittings. Do not overtighten fittings blindly. A connection that is only slightly loose may need a simple adjustment, while corrosion or a failing valve may call for replacement. Overtightening can crack a fitting or make a manageable repair more difficult.
The Most Serious Cause: A Leaking Tank
If water is coming from beneath the outer jacket or from a seam in the tank, the internal tank has likely corroded through. Conventional water heaters have a steel tank lined with glass and protected by an anode rod. Over time, minerals, sediment, age, and water chemistry wear down those defenses.
Once the tank itself leaks, it cannot be reliably repaired. Sealants, patches, and temporary tricks may slow a drip briefly, but they do not restore a corroded pressure vessel. Replacement is the safe, practical answer.
Tank leaks often start slowly and become more noticeable as the steel deteriorates. Signs include rusty water around the base, heavy corrosion on the outside of the tank, recurring puddles, a damp insulation jacket, or water that appears even after the drain valve and nearby piping are dry.
Age matters, but it is not the only factor. Many tank heaters last roughly 8 to 12 years, depending on water quality, maintenance, installation conditions, and how hard the household works the system. Northeast Ohio homes with hard water or private-well water can accumulate sediment faster, which can reduce efficiency and put more stress on a tank.
What to Do Before Service Arrives
First, protect the area. Move boxes, furniture, and anything valuable away from the water. If the leak is steady or significant, shut off the cold-water supply to the heater. A valve is typically located on the pipe above the unit. If you cannot find it or it will not turn, use the home’s main water shutoff only if necessary.
Next, turn off the energy source if the tank needs to be shut down. Electric units should be switched off at the circuit breaker. For gas water heaters, use the control’s off setting only if you are comfortable doing so and there is no gas smell. Do not relight a gas appliance yourself if water has affected the burner area or controls.
Take a few clear photos before drying everything. Photos of the leak path, the model label, the valve area, and the surrounding piping can speed up diagnosis. Then note whether the water is hot or cold, whether it appears only during heating, and whether the heater has recently made popping, rumbling, or hissing sounds.
Avoid draining the entire unit unless a technician advises it or there is an immediate need to limit water damage. Older drain valves can fail when operated, and a tank full of hot water can be hazardous. If there is active flooding, call for help promptly.
Repair or Replacement: How to Decide
A repair often makes sense when the problem is outside the tank. A drain valve, T&P valve, fitting, shutoff valve, or short section of piping may be serviceable if the heater is otherwise sound. The technician should still evaluate the heater’s age, condition, venting or electrical setup, water pressure, and signs of sediment.
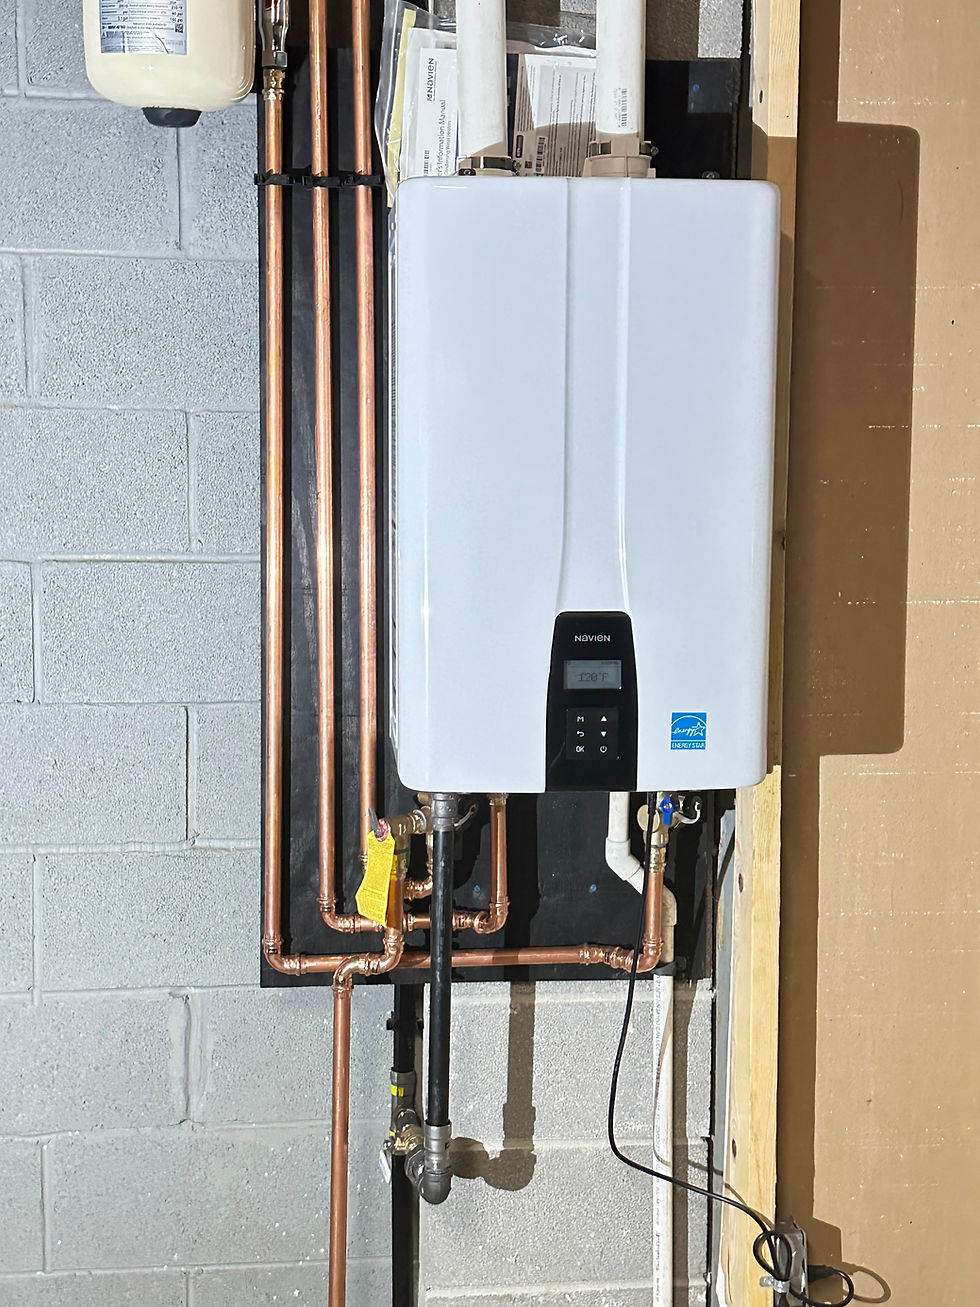
Replacement is usually the better value when the tank is leaking, the heater is near the end of its expected life, repairs are stacking up, or hot-water needs have changed. A larger household may benefit from a properly sized conventional tank, while some homes are good candidates for tankless, hybrid heat-pump, power-vent, gas, or electric options. The best choice depends on available fuel, space, venting, electrical capacity, budget, and how your family uses hot water.
Water quality should be part of that conversation. Hard water and well-water conditions can affect tank life, fixtures, and appliance performance. Addressing the source with appropriate water treatment can help protect the next water heater rather than simply replacing the current one.
Get an Honest Diagnosis Before You Replace Anything
A bottom leak can be a small valve issue, a pressure issue, or a failed tank, and the right answer depends on the source of the water. Makeithot Water Heaters LLC provides licensed, insured, specialized water-heater service for Northeast Ohio homeowners, including honest second opinions when a replacement recommendation does not feel clear.
A water heater rarely chooses a convenient time to leak. Acting early can prevent a minor drip from becoming damaged flooring, mold, or a full loss of hot water. Dry the area, shut off water when needed, and have the source identified before deciding whether a repair or replacement is the sensible next step.

Comments