


How to Flush Water Heater Sediment Safely
That popping or rumbling sound from a tank water heater is often more than an annoyance. It can mean minerals and debris have settled at the bottom of the tank, forcing the burner or heating elements to work through a layer of sediment. Knowing when to flush water heater sediment can help protect hot-water performance, but the job needs to be approached carefully - especially on an older unit.
In Northeast Ohio, sediment is common in homes with hard municipal water and private well water. The right maintenance schedule depends on your water quality, the age and condition of the heater, and whether the drain valve will actually open without creating a new problem.
What Water Heater Sediment Is Doing Inside the Tank
A conventional tank water heater stores dozens of gallons of water. As that water is heated and cooled day after day, naturally occurring minerals can separate and settle on the tank floor. Calcium and magnesium are common contributors in hard-water homes. Well-water homes may also have iron, sand, or other fine material that adds to the buildup.
A thin layer of sediment may not cause an immediate failure. Over time, though, it acts like insulation between the heat source and the water. On a gas water heater, the burner has to heat through that layer. On an electric model, sediment can surround lower heating elements and shorten their working life.
This buildup may lead to longer recovery times, less available hot water, higher energy use, rumbling or popping noises, and premature equipment wear. In severe cases, sediment can clog the drain valve or contribute to overheating at the bottom of the tank.
When Should You Flush Water Heater Sediment?
For many households, a yearly inspection and flush is a reasonable starting point. Homes with very hard water, untreated well water, or a large family using significant hot water may benefit from more frequent service. A water-treatment system can reduce mineral scale entering the heater, but it does not erase sediment already inside the tank.
That said, age matters. A newer water heater with a functioning drain valve is often a good candidate for preventive flushing. An older unit that has never been serviced is different. Sediment can harden into a dense layer, and an old drain valve may be brittle or partially blocked. Opening it can reveal a leak, clog the valve, or leave it unable to close completely.
If your water heater is near the end of its expected service life, has visible corrosion, or is already leaking, do not treat flushing as a repair. Water around the base of the unit, rusty water, a heavily corroded connection, or a failing temperature-and-pressure relief valve requires a professional evaluation.
Signs Sediment May Be a Problem
Popping, crackling, or rumbling during heating is one of the most familiar signs. You may also notice that showers turn cool sooner than they used to, hot water takes longer to recover, or your utility costs rise without an obvious change in household use.
Discolored water can point to other issues, including corrosion or iron in the water supply, so it should not be blamed on sediment automatically. A qualified technician can help determine whether the problem is inside the heater, in the plumbing, or related to water quality.
How to Flush a Tank Water Heater Safely
A standard tank flush is straightforward in theory, but water, electricity, gas, and pressure all deserve respect. Before starting, make sure you can safely route hot water outside or into an appropriate drain. Never allow hot discharge water to run across a finished floor, into a shallow utility sink that could overflow, or where it could burn someone.
1. Shut off the energy source
For an electric water heater, turn off the correct circuit breaker before draining any water. An exposed electric element can burn out quickly if power is restored before the tank is completely full.
For a gas water heater, set the control to vacation or pilot mode according to the manufacturer instructions. Do not disconnect gas piping or attempt burner repairs as part of a routine flush. If you smell gas at any point, leave the area and contact a qualified professional or your gas utility.
2. Let the water cool and isolate the supply
Turn off the cold-water supply valve above the heater. Open a nearby hot-water faucet to relieve pressure and help air enter the system. If the tank has been heating recently, allow adequate time for the water to cool. Draining a water heater while the water is still near its operating temperature creates a real scalding risk.
3. Connect a hose to the drain valve
Attach a garden hose securely to the drain valve near the bottom of the tank. Run the other end to a suitable floor drain or outdoors, keeping it away from people, pets, and landscaping that could be affected by very hot water or mineral discharge.
Open the drain valve slowly. Water may initially come out cloudy or contain small particles. If flow is weak, do not force the valve or poke sharp objects into it. A clogged drain valve is common, and forcing it can damage the valve or create a leak that will not reseal.
4. Flush until the discharge clears
Once the tank has drained partially or fully, briefly reopen the cold-water supply while the drain remains open. This stirs loose material and carries it out through the hose. Repeat as needed until the discharge looks reasonably clear.
Do not expect every bit of old, hardened sediment to come out of a neglected tank. Aggressive attempts to remove it may do more harm than good. If the heater has heavy buildup, a technician can assess whether service is worthwhile or whether replacement is the more dependable investment.
5. Refill the tank completely before restoring power
Close the drain valve, disconnect the hose, and turn the cold-water supply back on. Keep a hot-water faucet open until air stops sputtering and water flows steadily. Check the drain valve and nearby connections for leaks.
Only after the tank is full should an electric water heater be turned back on. For gas equipment, return the control to its normal operating setting and confirm that it relights and heats correctly. If the pilot will not relight, the burner cycles improperly, or you see water leaking afterward, stop and schedule service.
When Flushing Is Not a DIY Job
Some water heaters should be inspected before anyone opens the drain. This includes units with a rusted drain valve, water at the base of the tank, an expansion tank or pressure-control concern, a history of leaking, or an unknown service history. A unit in a finished basement also raises the stakes because a failed valve can cause costly water damage.
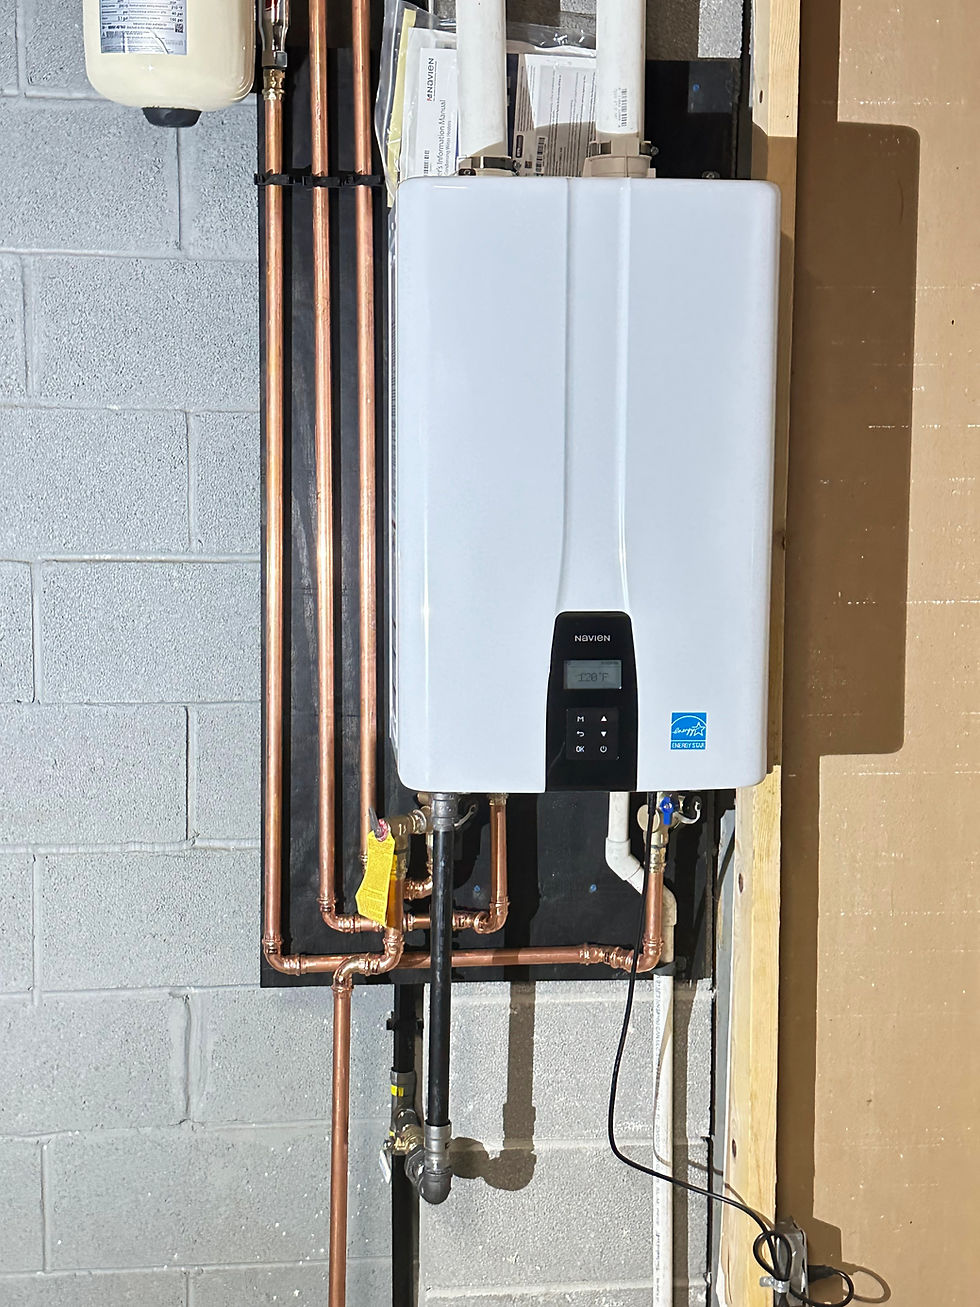
Power-vent water heaters have additional electrical and venting components. Hybrid heat-pump units have condensate and refrigeration-related considerations. Tankless water heaters need a different maintenance process entirely: they are typically isolated and descaled with a cleaning solution through service valves, not drained like a conventional tank.
If your home has well water, recurring sediment can also be a clue that the water itself needs attention. A water test can identify hardness, iron, manganese, acidity, and other conditions that affect fixtures, plumbing, and water-heater life. Treating the source may reduce repeat buildup more effectively than flushing alone.
A Better Plan for Older or Noisy Water Heaters
An honest service visit should not begin with pressure to replace equipment. First, the heater’s age, condition, venting, fuel supply, water quality, drain valve, anode rod condition, and actual performance should be considered. Sometimes a careful flush and minor repair can extend useful life. Other times, investing in a repair on a corroded or inefficient tank is not the best value.
Makeithot Water Heaters LLC can assess conventional gas and electric tanks, power-vent models, tankless systems, hybrid heat-pump water heaters, and the water-quality issues that affect them. For homeowners deciding between maintenance, repair, or replacement, a clear explanation and a free honest second opinion can make that choice less stressful.
If your heater is noisy, slow to recover, or showing signs of a drain-valve problem, address it before a routine maintenance task becomes a no-hot-water emergency. A careful inspection now can help you choose the safest next step for your home and your hot-water needs.

Comments